
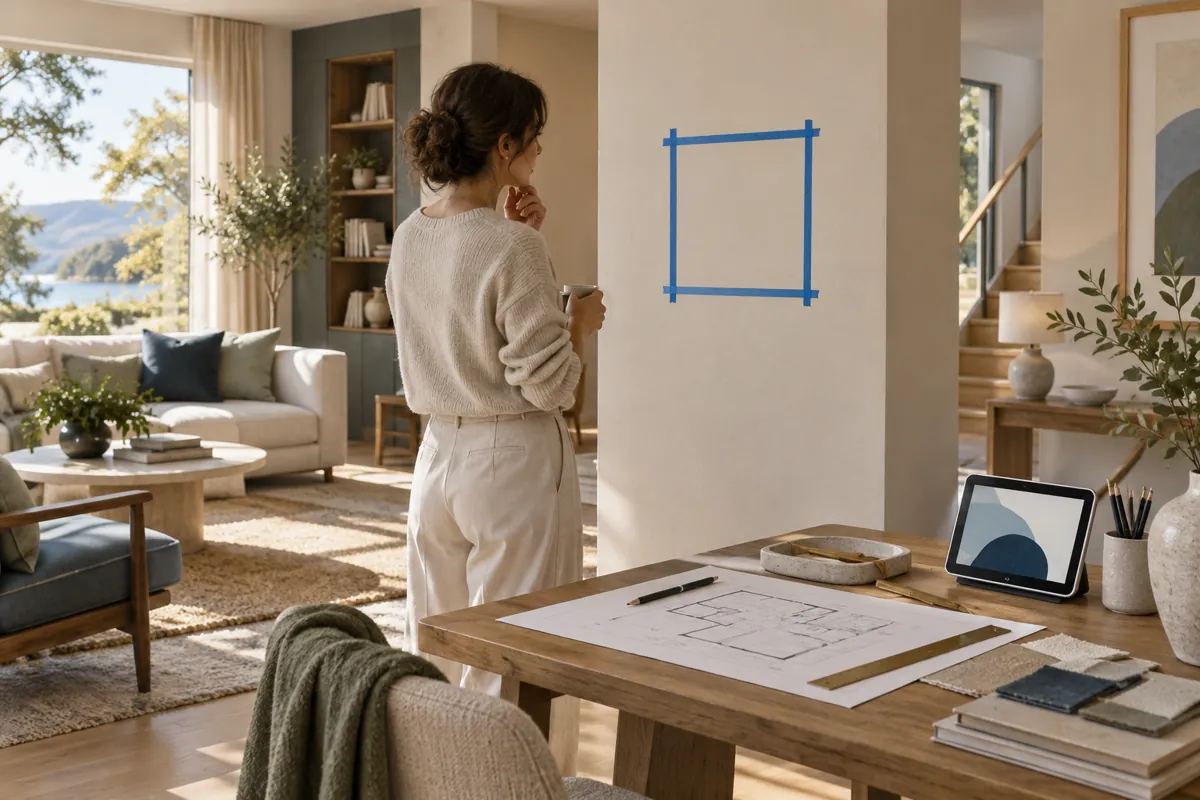
A paper outline on the wall can reveal a poor screen location before you spend anything. Start Apple HomeView wall installation by checking whether people can see, reach and use that position. Then choose the supported mount and power route around the location.
On this page
- HomeView wall installation: define the daily job
- Mark the location before buying installation parts
- Choose the mount after assessing infrastructure
- Plan the cable route as part of the room
- Treat AC wiring as professional work
- Network planning happens before commissioning
- Consider cameras, microphones and privacy
- Build maintenance access into the plan
- Commission the room, then the functions
- A handover checklist worth keeping
- Photograph the completed route for maintenance
- RoutineWho uses the screen, and for which task?
- PositionTest reach, sightlines, glare and privacy
- InfrastructureAssess outlet, wall box or network cable
- HandoverVerify functions and retain maintenance notes
A permanent display combines an interface project with a room project. Power, network access, wall construction and household privacy all matter. A tidy mount is only successful if the screen is useful afterward.
HomeView wall installation: define the daily job
Choose one or two tasks that justify a fixed screen. They might be checking the door camera or controlling lights near the entrance. A vague goal of making the home smarter is difficult to test.
Write who uses the screen, how often and from which direction they approach. A hallway location can suit quick actions. A kitchen position may better serve recipes or longer interactions.
The Apple HomeView buying guide helps turn those goals into a decision. Keep the wall model choice tied to the routine. A permanent position is a commitment to where people will interact.
Mark the location before buying installation parts
For Apple HomeView wall installation, use a paper outline or removable marker to represent the display. Test it with the people who will use it. Avoid treating the tallest person’s preferred height as the household standard.
Check the position while standing and sitting if both matter. Walk the normal route through the room. A location can feel convenient during planning but awkward when someone carries groceries or passes an open door.
Test morning and evening sightlines. Look for reflections from windows and nearby lighting. Also consider whether the screen is comfortable to glance at from the place where the task happens.
This is a placement experiment, not a claim about measured display visibility. It identifies obvious room problems before money is spent. Moving a paper outline is easier than repairing a finished wall.
| Room check | What to try | Decision it informs |
|---|---|---|
| Reach | Have each intended user approach and point to the controls | Height and accessible location |
| Sightline | View the outline from normal task positions | Whether the screen belongs on this wall |
| Privacy | Stand at entrances and visitor seating | Exposure of personal content or camera feeds |
| Cable route | Measure the actual path to the supply | Mount route and required work |
| Maintenance | Imagine removing the screen and reaching equipment | Access for service and later changes |
Choose the mount after assessing infrastructure
The documented routes use a USB-C connector mount, an AC wired mount or a future PoE mount. They solve different infrastructure problems. The wall mount comparison explains the parts and reference costs.
For USB-C, check the outlet and cable path. For AC, ask a qualified electrician to assess the box and line voltage work. For PoE, identify the network equipment and the cable destination.
Do not assume a wall cable left by another panel is ready for reuse. Its purpose and condition need assessment. An existing opening can reduce work, but it does not prove compatibility.
Keep the exact wall display model in the order. The tabletop and wall products are not interchangeable installation assumptions. Matching hardware, mounting method and supply should be visible in the quote.
Plan the cable route as part of the room
Measure along the route you actually intend to use. Include turns around trim or furniture rather than measuring through open air. Leave room for connectors and avoid cable strain.
Think about everyday movement. A lead near a door, chair or frequently moved table can be pulled or trapped. A cable route should remain sensible after the room is used normally.
The USB-C mount listing describes its supplied cable and external adapter requirement. Read those details before assuming that a longer generic cable solves a location problem. Follow the specific equipment instructions.
For concealed routes, have the appropriate installer assess the work. This guide does not describe putting arbitrary cords inside walls. The installation method should suit the cable, wall and local requirements.
Treat AC wiring as professional work
The AC mount listing specifies a single gang box and qualified line voltage installation. Get the existing location assessed before buying on the assumption that it is suitable. Box position, available power and finishing work can change the scope.
Ask for a written quote that names the mount and the work included. Separate electrical work, wall repair and any painting. A bare hardware price cannot tell you what the finished room costs.
Do not use a smart screen guide as a substitute for electrical instructions. The useful homeowner role is to define the desired outcome and review the scope. The qualified installer should handle the wiring assessment and work.
If you rent, establish permission for permanent changes before scheduling them. A removable route may suit the household better. The appearance of a concealed installation does not automatically justify its permanence.
Network planning happens before commissioning
Check the home network at the intended location with ordinary devices. A weak location deserves investigation before assuming a new display will behave differently. Room layout and network equipment can affect the installation’s usefulness.
For PoE, confirm both power and data support through the proposed equipment. The PoE requirements guide separates those checks. A generic converter with an Ethernet input is not enough evidence.
Record the network equipment and relevant connection route in the installation notes. Do not put passwords in a public or casually shared document. Keep secure access details separately.
Also establish how the screen fits the existing smart home. A new wall endpoint does not automatically replace accessory bridges. The compatible devices audit helps identify what must remain connected.
Consider cameras, microphones and privacy
The screen’s camera angle matters if the household wants video calls. A position chosen for quick taps may frame people awkwardly during a longer conversation. Test the intended standing or seated location before committing.
Consider who can see the screen from outside the room. A front entrance may be practical for controls but exposed for personal information. A camera feed can reveal more than a clock or weather display.
Our privacy guide separates access conditions from physical visibility. Account protections do not control every sightline in the room. Placement remains a household choice.
Discuss audio with nearby users too. Voice requests and responses may be audible across an open space. A convenient common location should fit the household’s expectations about private interactions.
Build maintenance access into the plan
HomeView wall installation still needs a service plan. Ask how the display is removed according to the mount instructions. Keep access to the power source and network route practical.
Record the hardware models, purchase information and installer contact. Label the upstream equipment where appropriate. These small steps make a later outage easier to diagnose.
Do not bury the only record of the setup inside the account of one person who may be away. Another trusted household member should know the recovery plan. Share useful instructions without sharing unnecessary credentials.
Keep the original installation guidance with the equipment record. A future move or replacement should follow the documented method. Guessing how a magnetic mount releases can be an avoidable source of damage.
Commission the room, then the functions
First inspect the completed physical arrangement with the installer. Check that the display is secure, the cable route is neat and access matches the agreed plan. Note unfinished work before accepting the project as complete.
Next confirm stable power and the intended network connection. Then perform the household tasks used to justify the location. Test with the intended users, not only the account owner.
For a camera task, check the actual feed and permissions. For shared controls, try the expected accessories and scenes. For personal functions, confirm the person’s documented eligibility and setup conditions.
Keep these results separate. A screen that powers on has passed one step. It has not automatically passed every feature or accessibility check.
A handover checklist worth keeping
- Exact display, mount and upstream supply models, with included parts recorded.
- Final cable route and network destination, with appropriate labels.
- Work scope completed, including any wall repair or finishing.
- Ordinary control, camera or media tasks checked with intended users.
- Account owner and access roles understood by the household.
- Removal, maintenance and outage recovery instructions available securely.
The cost calculator can help compare the final quote with the original plan. Keep optional services and future upgrades separate. That makes the installation’s real cost easier to understand.
At this research snapshot, HomeView availability is announced for November 13, 2026, with PoE mounting later. This guide is a planning checklist rather than a tested installation manual. Follow the final manufacturer’s instructions and the assessed professional scope when the equipment arrives.
Photograph the completed route for maintenance
Keep a dated photo of the finished screen position and accessible equipment labels. Avoid including passwords, setup codes or private screen content. A visual record helps explain the installation without exposing account secrets.
Add the final position to the equipment inventory. If furniture or the room’s purpose changes, review reach, sightlines and cable strain again. A once useful location can become awkward when the household changes how it uses the space.