
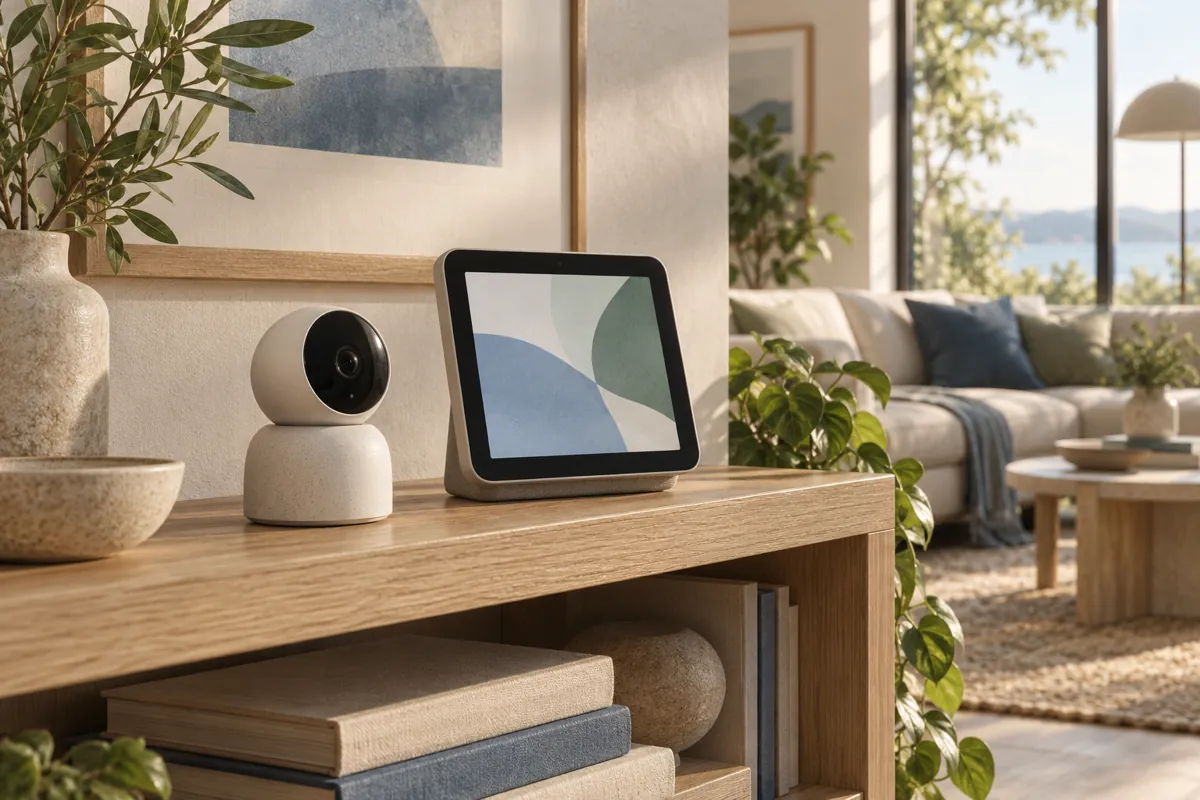
Apple HomeView camera requirements depend on the task: viewing a live feed, recording events and using camera intelligence are separate checks. Start with your camera’s exact model and its Apple Home connection path. A working manufacturer app or a Matter label does not establish every camera feature.
On this page
- HomeView camera requirements by task
- Identify the camera before choosing a plan
- Live viewing and recording are different services
- Do not confuse a viewing limit with a recording allowance
- Camera intelligence has additional prerequisites
- Software bridges add another layer to maintain
- Diagnose a feed problem in the right order
- Place the display for useful and private viewing
- A camera acceptance checklist after setup
- Choose useful views before filling the dashboard
- Live viewingSupported camera and Apple Home route
- RecordingSupported HomeKit Secure Video camera and plan
- IntelligenceCurrent service and setup device requirements
- PermissionsCheck the intended person and separate services
Treat the camera system as a chain rather than a single purchase. The camera, network, home setup, account and subscription can each determine what works. Checking those links first is cheaper than replacing equipment by guesswork.
HomeView camera requirements by task
Write the outcome you want before comparing cameras. Seeing the porch now is different from finding a delivery that happened yesterday. Receiving an event description is different again.
For live viewing, establish that the camera has a supported Apple Home route. For recording, check HomeKit Secure Video support and the applicable account plan. For intelligence, check Apple’s additional eligibility and service conditions.
Our compatible devices audit covers the wider home. Keep the camera pass separate because its feature layers are easy to mix up. One successful test should not be used as proof that all layers work.
| Desired outcome | Main question | Common incorrect shortcut |
|---|---|---|
| View the current picture | Does the exact camera provide a supported live feed? | The vendor app works, so every other interface must work |
| Review recorded events | Is the camera eligible for the intended recording service? | Live viewing automatically includes recording |
| Use camera intelligence | Are camera, account and setup device requirements met? | A recording subscription covers every future AI feature |
| View several cameras | What simultaneous viewing behavior is documented? | A display limit is the same as a plan’s recording allowance |
| Share access with another person | What permissions does their role provide? | Anyone who can tap the screen owns the recording account |
Identify the camera before choosing a plan
Find the model number in the camera app, packaging or product label. Record its firmware and the bridge or server involved. A manufacturer’s brand name is not precise enough for a compatibility decision.
Next, check Apple HomeView camera requirements against the official page for that model. Look for explicit Apple Home or HomeKit Secure Video support rather than broad ecosystem marketing. Record whether a bridge, account or additional hardware is required.
If the model is unclear, do not buy a subscription yet. A higher plan cannot add a missing hardware integration. First establish the camera’s connection route and supported functions.
The Apple Home buying checklist provides a reusable evidence worksheet. It helps separate model support from assumptions about a product family. Keep the camera’s recording evidence in that worksheet too.
Live viewing and recording are different services
A live feed answers what is happening now. Recording provides footage you can revisit later. These are different outcomes even when the same Home app displays them.
Apple’s HomeKit Secure Video guide explains its encrypted recording service and plan allowances. The documented recording history is ten days, and that footage does not count against iCloud storage. Check the plan and supported camera rather than treating storage size as a video capacity estimate.
That distinction changes purchase decisions. If you only need to glance at the door, recording may not be the reason to subscribe. If you need an event from yesterday, a live picture alone cannot solve the task.
For a broader subscription decision, see Apple HomeView without iCloud Plus. Keep optional vendor recording services in a separate budget. Paying two providers does not automatically mean both recordings appear in Apple Home.
Do not confuse a viewing limit with a recording allowance
Apple’s HomeView announcement describes viewing up to nine live camera feeds together. That is a display capability. It should not be read as an iCloud plan allowance.
The regular HomeKit Secure Video recording allowance is one camera on a 50GB plan, five on a 200GB plan, and unlimited cameras on 2TB or higher plans. Those categories describe recording support. They do not establish a universal limit for every camera intelligence feature.
Use separate rows in your planning sheet for live feeds and recordings. Put any intelligence allowance in a third row. That keeps a headline number from becoming a misleading promise.
If your household has several cameras, list which ones genuinely need recordings. A rarely used indoor view and a front door camera may have different priorities. Choose the service around those priorities rather than the total number of devices on the network.
Camera intelligence has additional prerequisites
Apple describes newer camera summaries and search features with eligible service and setup requirements. Do not assume ordinary recording eligibility guarantees all intelligence functions. Check the current feature notes before buying for that specific reason.
Include the setup device in the review. Some personal and intelligence features depend on a qualifying Apple Intelligence device and settings. The HomeView device requirements guide explains why basic setup and advanced feature eligibility need separate answers.
Also distinguish announced availability from a tested workflow. At this research snapshot, we have not tested these functions on shipping HomeView hardware. The practical plan is to identify prerequisites now and verify actual behavior after release.
Avoid choosing a camera solely for an unverified future feature. It should meet your ordinary viewing or recording needs as well. That gives the purchase a useful purpose even if a newer service has limits or changes.
Software bridges add another layer to maintain
Scrypted’s HomeKit documentation describes a route for supported camera integrations, with stream and codec considerations. It is not evidence that every camera will work without configuration. Check the exact source camera and project guidance.
A software bridge needs an available host. Someone must maintain that host, update software and recover it after problems. Include this work in the decision instead of counting only the camera price.
For a household that prefers minimal maintenance, a documented native route may be simpler. For an existing enthusiast setup, a supported bridge can be worth evaluating. Neither route should be declared best without understanding the household.
Do not confuse a bridged live feed with confirmed recording or intelligence support. Verify each layer through the bridge’s current documentation and actual setup. Keep a fallback way to view the camera in its original system.
Diagnose a feed problem in the right order
Start with the camera’s own app. If that feed also fails, inspect power and network availability before changing HomeView settings. A display cannot recover a camera that is offline at its source.
If the vendor feed works, try the camera in Apple Home on your phone. A failure there points toward the integration, bridge or Home setup. Record the error and whether it affects one camera or all of them.
If Apple Home works on the phone but the shared screen fails, focus on that endpoint. Check its software and the documented viewing path. Avoid resetting all cameras before the problem is narrowed down.
Repeat the test at different ordinary times if the failure is intermittent. Record what changed, such as another camera starting or the network being busy. Do not turn one observation into a claimed performance limit.
Place the display for useful and private viewing
A camera dashboard in a hallway may be easy to reach but visible to visitors. An indoor camera feed can reveal more than a porch feed. Choose the location with those differences in mind.
Review who can access live views and recordings through Apple Home. Their manufacturer app permissions may be separate. The guest access guide explains why removing one invitation may not remove every route.
Keep the screen’s purpose narrow. A convenient door check does not require every indoor camera to remain visible. A smaller useful set can make the interface clearer and reduce unnecessary exposure.
Discuss recording expectations with household members. A camera purchase affects shared space, not just the account owner. Practical privacy includes where the device points and who can see its output.
A camera acceptance checklist after setup
Test HomeView camera requirements one camera at a time before building a larger view. Confirm live video, the intended recording behavior and the relevant person’s access. Save the results by model rather than writing that the whole brand works.
For recordings, check a real ordinary event and verify that you can find it later. For intelligence, compare the available controls with the promised feature and account eligibility. Keep unexpected gaps visible in your inventory.
Record the date, software versions and connection route. Those details make a useful support request and help future retesting. A precise compatibility record is more valuable than a broad recommendation based on a logo.
Choose useful views before filling the dashboard
A camera layout should follow decisions people actually make. A front door view may help answer whether to receive a delivery. An unused indoor view can add distraction without helping that routine.
Start with the feeds that matter and compare their names with the physical locations. Check that people can distinguish the entrance, driveway and side door quickly. This improves the interface without inventing a performance score or assuming that more feeds always make a better experience.